
A GetResponse automation workflow is a visual path of triggers, decisions, and tasks that helps you send timely follow-up without handling every step manually. It maps a contact’s journey, so your marketing can nurture a lead while you focus on other work.
GetResponse Web Automation can react to site visitors who are not subscribers. That reach can support follow-up beyond your email list, including responses to visitor activity. You can start with a small goal and build a useful path around it.
Start with one clear customer need, such as welcoming a new subscriber or following up after a purchase.
Key Takeaways
- Map one customer need to a clear follow-up path.
- Use conditions, actions, and filters to guide contacts.
- Choose a template or build a custom workflow.
- Check timing and repeat rules before publishing.
- Match your plan’s workflow limit to your needs.
How the GetResponse Automation Workflow Works
A workflow turns a contact event into a next step by connecting conditions, actions, and filters. Its simple logic is “if this happens, then do that.”
A condition checks an event, an action carries out a task, and a filter narrows the contacts who continue. Together, these elements shape a marketing automation workflow around contact behavior.
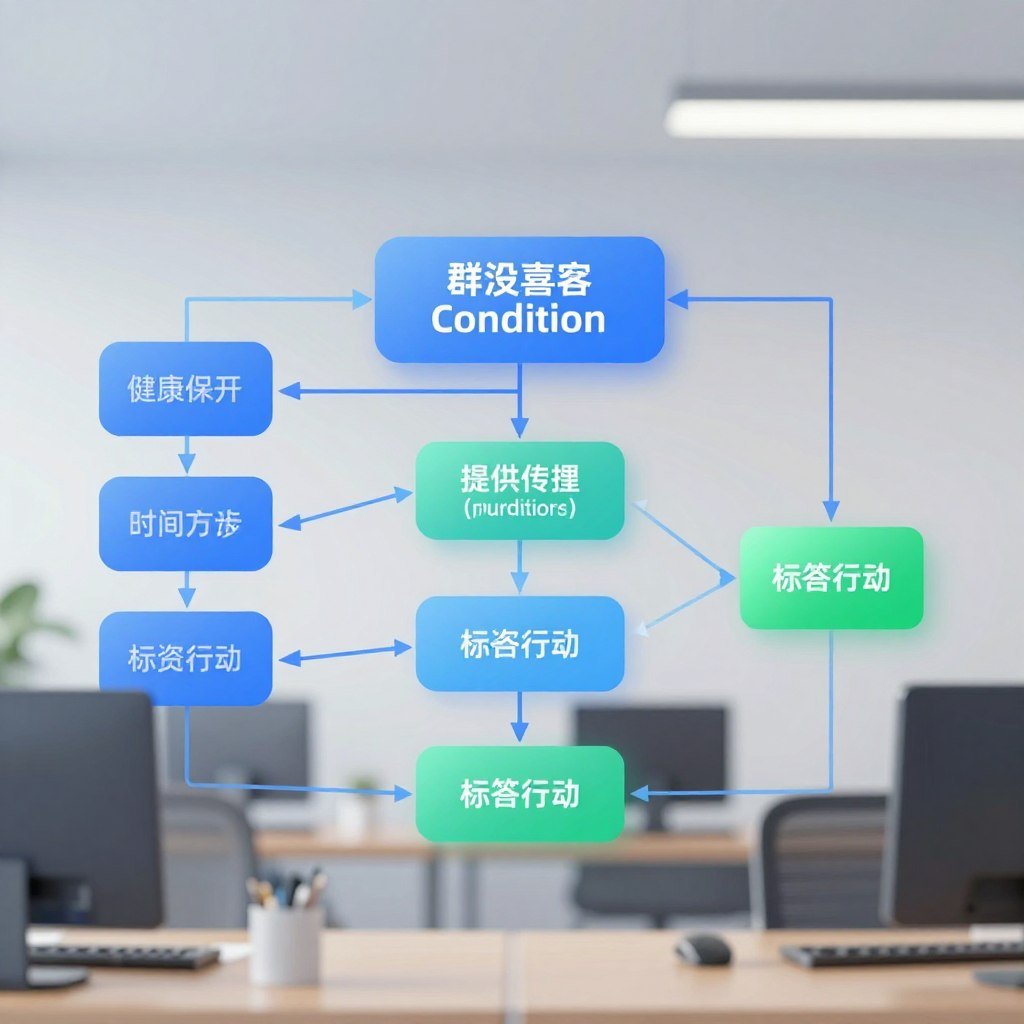
| Element type | What it does | GetResponse examples |
|---|---|---|
| Condition | Checks whether an event happened | Purchase or link click |
| Action | Carries out a task | Tag or score |
| Filter | Narrows or splits contacts | Dynamic segment or Splitter |
Condition elements can send contacts down Yes or No connectors. For example, a purchase condition can route buyers differently from contacts who have not purchased.
Use a condition to decide what happens, then add a filter only when you need to narrow who continues.
Other conditions can check abandoned carts, message opens, and link clicks. The element library also includes filters called Amount and Range.
Those choices let you shape a response without adding steps that do not serve your goal. A scoring action, for example, can help you track engagement as contacts move through a workflow.
What Can Start a GetResponse Workflow?
A workflow can start when someone subscribes through a form, landing page, webinar, website, API, import, manual addition, or course. You can add several subscription start elements to cover different sources.
Each start element can use a chosen list and subscription method. By default, it admits new contacts added after the workflow starts.

If you start the workflow right away, you can choose to include contacts already on the list. This helps when you want an existing audience to enter, rather than waiting for new sign-ups.
Different start elements can feed one shared process or separate parallel sequences. A webinar signup and a course enrollment, for instance, might share a welcome message before taking different paths.
A website is another possible source for a subscription start. If you need a site for your campaign, explore website creation and design services for local businesses, online stores, blogs, or portfolios.
Check that each start element points to the intended list, especially when your sign-up forms serve different audiences. Match each start element to the list and sign-up source you intend to welcome.
Choose a Template or Start from Scratch
A template is the quickest route when its goal matches your campaign, while a blank workflow gives you control over the structure from the beginning. The right choice depends on how much of the customer journey you have planned.
Templates provide a ready-made structure, while a custom workflow lets you choose and connect each element. In either case, setup gets easier when you prepare your messages and sign-up assets first.

Adapt a template to your campaign
GetResponse templates cover welcome emails, abandoned-cart recovery, product recommendations, winback campaigns, and subscriber retargeting. You can also find templates for subscriber scoring, birthday messages, webinar promotion, and course promotion.
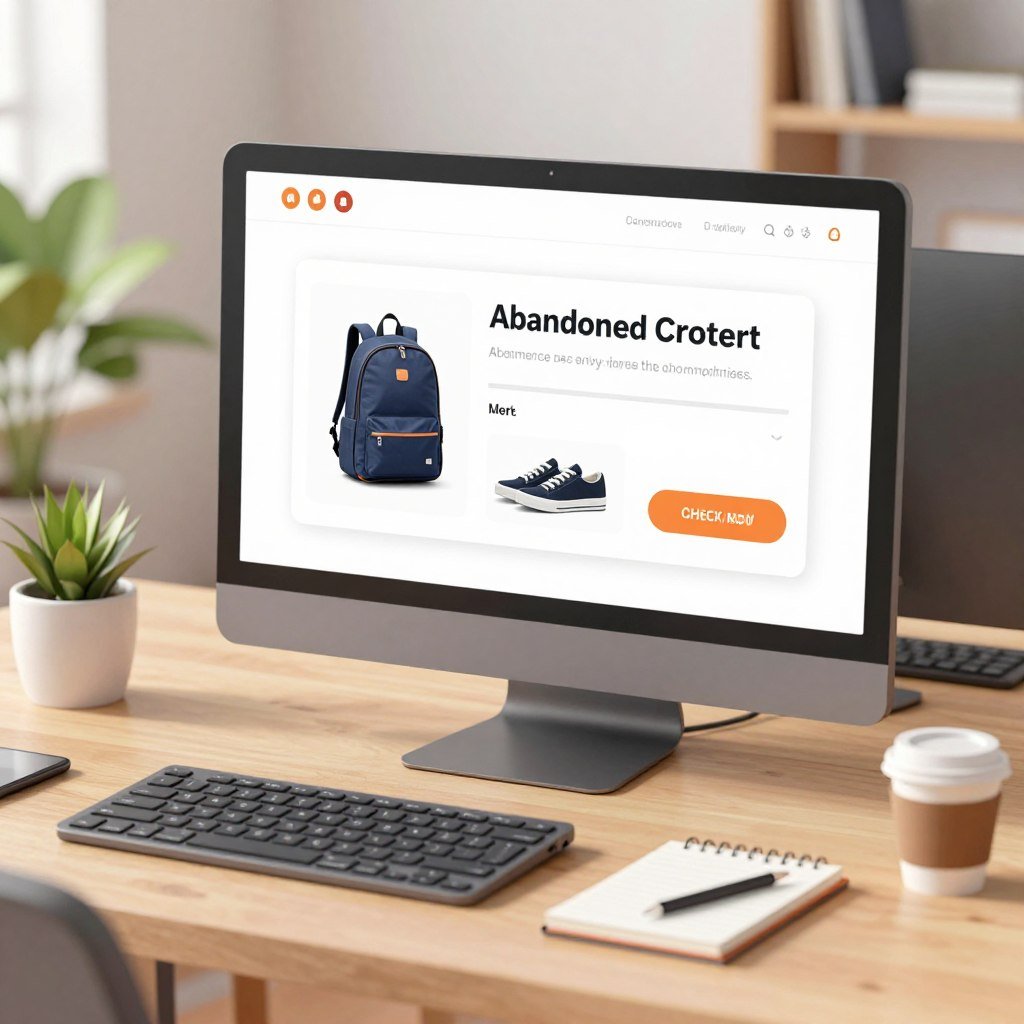
A template gives you a preselected structure and some elements already in place. Add your own lists, messages, and contact properties to make it fit your campaign.
For a welcome new subscriber campaign, have the welcome email ready before you fill in the template. That way, you can choose the right message during setup instead of leaving the key asset for later.
Build a custom path from a blank canvas
Starting from scratch lets you select and connect the elements yourself. This route can suit a campaign with a particular goal or a journey that does not match a ready-made structure.

Sketch the customer path before building it. Note what should trigger a response, what message should follow, and where the journey should end.
That brief plan makes it easier to choose between templates and a custom automation workflow. Pick the route that fits how clearly you have mapped the customer journey.
Build Your First Workflow Step by Step
A simple welcome email workflow is a useful first build: a subscriber enters, then receives a welcome message. Choose one goal before you add elements.
A small test group can help you catch a wrong message or path before the workflow reaches a broader audience.

Set one goal and prepare its assets
Decide what the first workflow should do, such as welcome a subscriber or follow up after a purchase. Then prepare the message and sign-up assets the path will need.

If you still need to create an email or form, save your work as a draft first. You can return after those assets are ready, rather than rushing to publish an unfinished path.
Assemble, configure, and publish the workflow
To get started, open Automation and choose Create workflow. Then follow these five steps:
- Name the workflow and add its starting element.
- Drag elements onto the canvas and connect them.
- Open each element’s Properties to set its options.
- Select the messages that each message element should send.
- Save as a draft or publish when the workflow is ready.
Use Save and exit to leave the workflow and return after creating its assets. When the path is complete, choose Save and publish to make it active.
A clear name can help you spot the right workflow later, especially if you build several for different campaigns. Before publishing, follow the contact’s route through every connector and confirm that the intended message is selected.
Personalize Workflows with Conditions and Ecommerce Data
A purchase condition can begin a follow-up journey, while a custom-field change can respond to a contact’s updated information. Use data that reflects what the contact has done or shared.
Custom field changed can monitor predefined or account-created single-choice, multiselect, and text fields. You can set it to detect any value change or a specified change.

Use custom fields to respond to contact changes
For date fields, the condition can check whether a value is before, after, or on a chosen date. This can help you time a response around a date stored on the contact.

A field assigned at signup does not trigger this condition. Assigning a field to an existing contact who did not have it before can trigger it.
The condition does not apply to values contacts received before you turned on the workflow or before they reached that element. Its option to include contacts who already meet the condition works only on start elements, and only once for each element.
Connect ecommerce and behavior signals
GetResponse offers purchase, abandoned-cart, event, message-open, and link-click conditions. Example triggers include:
- Purchase
- Abandoned cart
- Message opened
- Link clicked
- Custom field changed

GetResponse lists integrations for Shopify, WooCommerce, Magento, PrestaShop, Shoper, and IdoSell. Ecommerce conditions can support segmentation, and ecommerce segments can guide automation.
Web Automation also offers SMS, web and mobile push notifications, and popups. Match each rule to data your workflow can use when the contact reaches that element.
Control Timing, Repeats, and Workflow Loops
A Wait action can pause a contact for as little as 5 minutes or as long as 366 days. Its timing can use your account time zone or a contact’s local time.
Selected weekdays can control when contacts continue, though excluded days may extend the delay.

Schedule waits and condition checks
Wait uses your account time zone by default. With Time travel enabled, you can use contacts’ local time for the selected time.

At the selected time, contacts start passing to the next element, and they continue passing through for 59 minutes. Contacts arriving after that window wait until the event is triggered the following day.
For a timed condition check, GetResponse recommends setting the time in the condition rather than placing a Wait action before it. That keeps the check tied to its own time settings.
Set repeat rules and handle loops carefully
Actions and conditions run once per contact by default. You can set Run multiple times to Always or once per selected period; contacts reaching the element during that period are skipped.
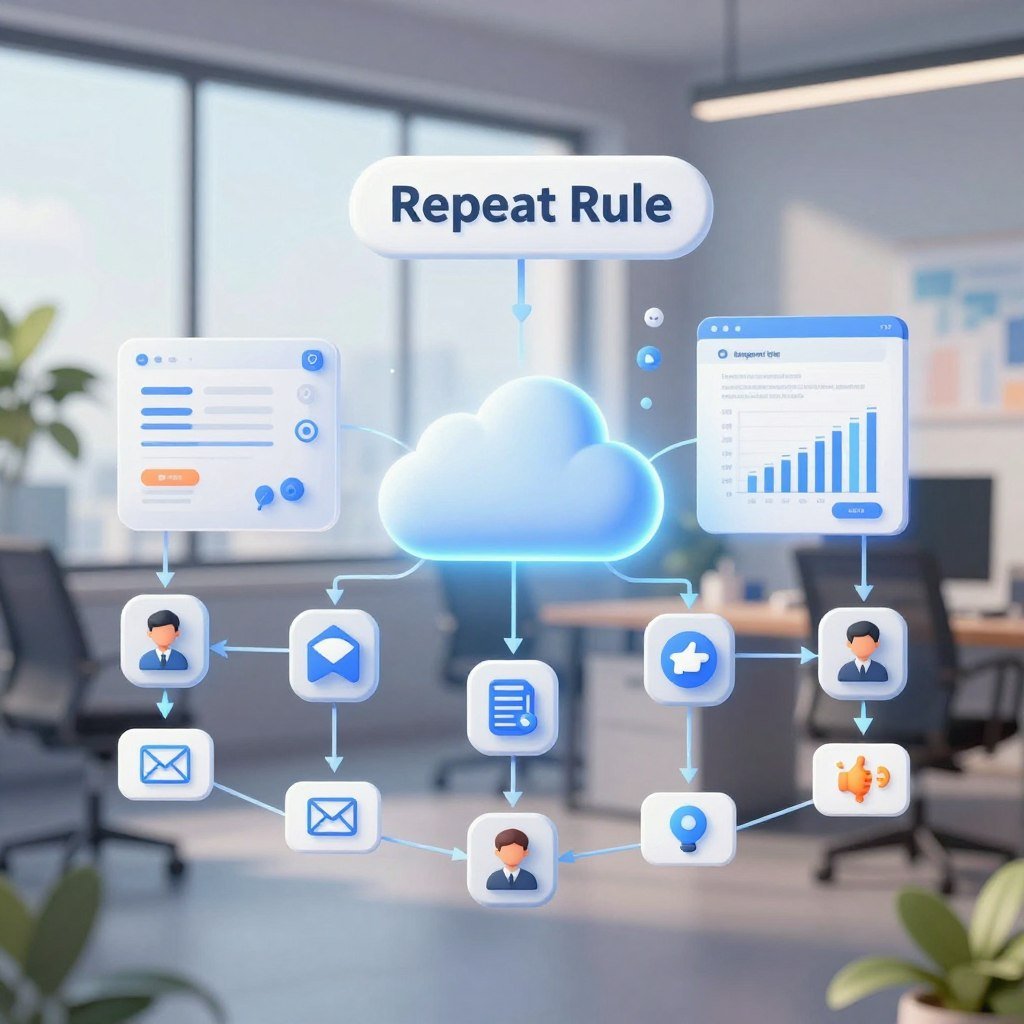
Filters are always on and do not need Run multiple times. Workflows can also use loops, but contacts cannot exit a running loop.
A loop can send the same message more than once. Repeated messages can lower deliverability and lead to review by GetResponse’s compliance team.
- Set a clear stop or exit point before a loop begins.
- Check whether a contact could receive the same message repeatedly.
- Review how tagging or scoring inside the loop affects another workflow.
Contacts cannot exit a running loop, and repeated loop messages can harm deliverability or prompt compliance review.
Review every loop for repeated messages and cross-workflow effects before enabling it.
Which GetResponse Plan Includes Automation Workflows?
Starter includes 1 custom automation workflow, while Marketer, Creator, and Enterprise include unlimited workflows. Starter costs $19 per month month-to-month or $15.58 per month billed annually.
Higher workflow allowances come with the Marketer, Creator, and Enterprise plans. Enterprise pricing is custom.
| Plan | Month-to-month price | Monthly price billed annually | Automation workflows |
|---|---|---|---|
| Starter | $19 | $15.58 | 1 custom workflow |
| Marketer | $59 | $48.38 | Unlimited |
| Creator | $69 | $56.58 | Unlimited |
| Enterprise | Custom pricing | Custom pricing | Unlimited |
Marketer costs $59 month-to-month or $48.38 per month billed annually. Creator costs $69 month-to-month or $56.58 per month billed annually.
Contact tagging and contact scoring are listed among the marketing-automation features. Compare the workflow allowance and billing option against the number of automations you plan to run.
Match the workflow allowance to the number of automations you expect to keep active.
Conclusion
One focused workflow can make a useful first step toward more relevant, timely marketing. A clear path helps you send an email when it fits the contact’s needs, rather than relying on manual follow-up.
Start with one defined customer journey and learn from the response. You can refine its conditions and messages as you see which choices fit your audience.
Choose one customer journey, prepare its starting point and message, and build that path in GetResponse.