
GetResponse autoresponders send prewritten messages automatically to contacts after they subscribe to your list. One surprising detail: enrollment is not automatic for every signup method. You must enable it for the source your audience uses. This matters if you rely on a welcome email to greet new subscribers or build subscriber engagement. A missed enrollment setting can leave a contact on your email list without entering the autoresponder cycle.
You can plan an automatic sequence, then set each form, landing page, or other signup source to enroll contacts. The settings depend on the source, so check the real path people use to join. A reliable welcome sequence starts with a signup path that actually enrolls each new contact.
Key Takeaways
- Autoresponders send prewritten messages after a contact subscribes.
- Signup methods do not all enroll contacts by default.
- Set the linked list and cycle day for each message.
- Use a matching signup setting to bring contacts into the cycle.
- Test your real signup route before adding more messages.
How the GetResponse Autoresponder Cycle Works
A contact’s Day 0 is the day they subscribe, while later cycle days schedule follow-up messages after signup. A cycle day marks elapsed time from that point, so a message on Day 3 follows three days after subscription. Each contact has a personal timeline, based on when that person joined.
Messages in an autoresponder cycle follow the contact’s subscription timeline, not one shared calendar date. You can set messages for Day 0, Day 3, Day 7, or Day 14. The schedule can send messages in sequence or at intervals.

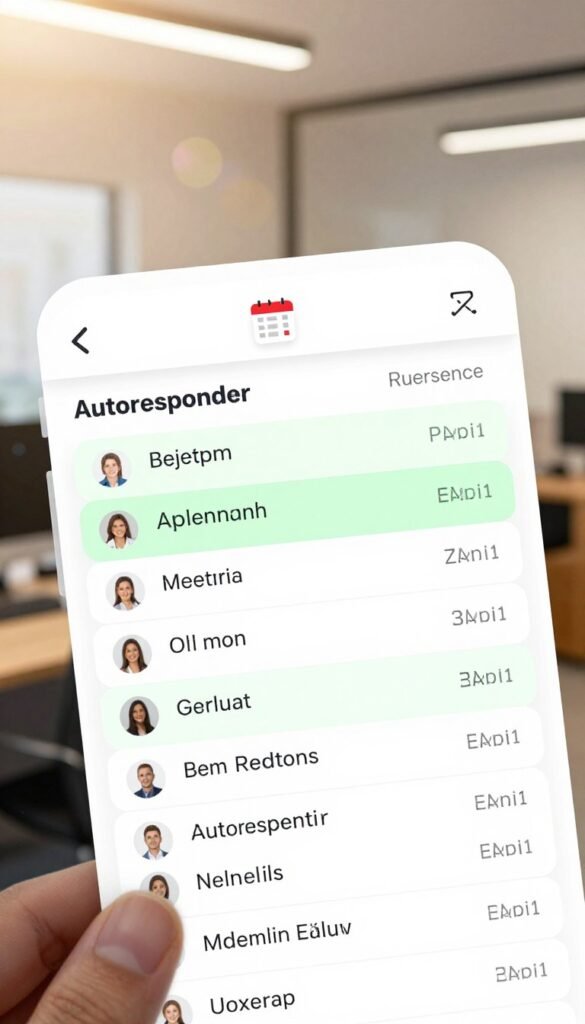
In the Autoresponders area, calendar and list views give you different ways to manage messages. The calendar view lays out the cycle days. The list view shows message details and the number of contacts on each day.
Plan each cycle day around what the subscriber should know or do at that point.

You can move a message between cycle days in either view. Check the contact count after a move, especially when a day has several messages. A simple welcome email might arrive first, followed later by useful tips or product details.
How to Create an Autoresponder Message
Starting from the GetResponse dashboard, open Autoresponders and choose Create Autoresponder. The setup links your message to a list and sets its place in the cycle. Keep every message in a multi-message cycle linked to the same list.
Use the settings to define the message before you design it. You can create the first message with the editor or choose the AI option.

Set the message details and linked list
- Choose Create Autoresponder in the Autoresponders area.
- Select Use an AI email creator or By myself in the popup.
- Enter an internal name, select the linked list, and choose the cycle day.
The internal name helps you find the message in your account. It does not replace the subject line subscribers see in their inbox.
Design, save, and publish the email
- Choose the From and Reply-to addresses, then add a subject line.
- Select Design message to open the email design step in the editor.
- Choose whether to track the email as a Google Analytics source.
- Select Save to keep a draft, or Save and Publish to make it live.
Review the sender details and subject before you publish. Use Save and Publish when the message is ready to go live. A draft stays available for changes without becoming an active email.

How to Set Cycle Days and Delivery Times
A new subscriber can receive a message at signup time, after a delay, or at an exact time you choose. These delivery settings work with the message’s cycle day. Choose the time that fits the email’s purpose, such as a quick welcome or a planned follow-up.
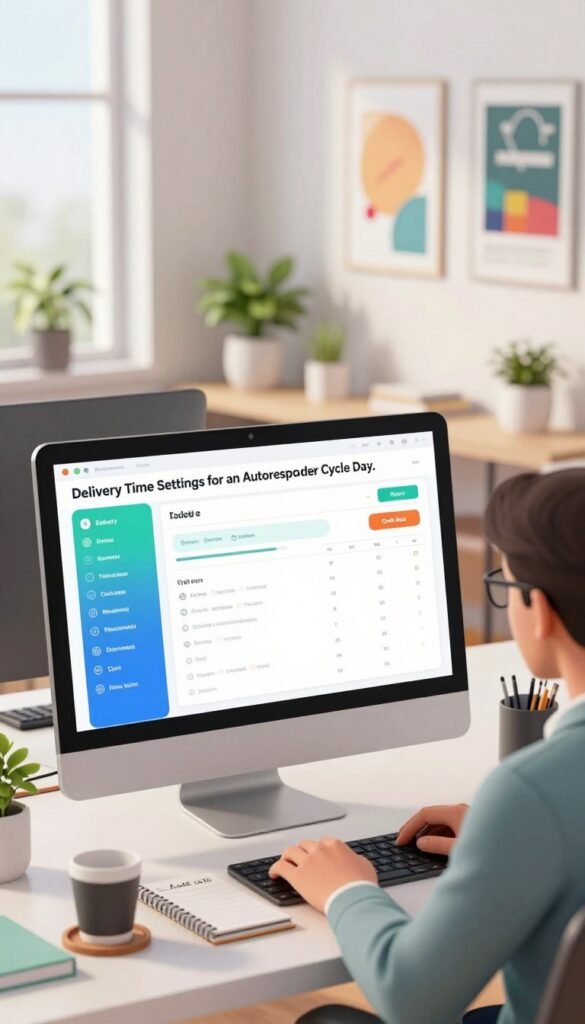
The delivery-time setting controls when the message goes out within its scheduled cycle day. GetResponse offers three choices:
| Setting | Available choice | Effect |
|---|---|---|
| Delivery time | Same time as signup | Sends at the contact’s signup time |
| Delivery time | With a delay | Waits for the chosen delay |
| Delivery time | Exact time | Targets the selected time |
Choose the message’s time
Same time as signup ties delivery to when the contact joined. A delay adds a wait after signup. Exact time aims for a set time of day.

Set the days it can send
You can limit delivery to selected weekdays. If the scheduled day is blocked, the message goes out on the earliest allowed day. For example, if Day 0 is blocked on Sundays and a contact subscribes Sunday, that message is sent Monday.

Time-zone settings let you adjust schedules to different regions. This can help a message arrive at a local hour instead of the same moment worldwide. Check the allowed weekdays against the delivery day you intend for each message.
How to Add Contacts to the Autoresponder Cycle
A contact can join your list without entering the autoresponder cycle if the signup method’s enrollment option is off. GetResponse supports enrollment through forms, popups, landing pages, webinars, API integrations, imports, and manual contact additions. Start with the path people actually use, not a signup source you rarely use.
The signup method’s selected cycle day must match the first message’s cycle day. If signup settings add someone on Day 1 while the first message sits on Day 0, that contact misses the first message.
Use this checklist for the signup source you need to configure:
- Identify the real signup source, such as a form, popup, landing page, webinar, API, import, or manual addition.
- Open that source’s subscription settings.
- Enable Add to an autoresponder cycle or its equivalent day-selection option.
- Choose the intended cycle day, then test the real signup path.
You can add an existing contact to a cycle or move that person to another cycle. The selected cycle day controls where the contact begins. Test the same signup route your audience uses so the enrollment setting is included in the check.
How to Personalize Messages and Build a Useful Sequence
A message feels more relevant when its greeting or details use information already stored for that contact. GetResponse personalization can add a first name, last name, email address, or custom-field value. Use details that help the email feel personal, rather than adding fields just because they exist.
Merge words insert contact data into an email when the message is sent. In the legacy editor, a custom field can use syntax such as [[favoritecolor]]. A fallback value can fill an empty field, as in [[color fallback=”your best-kept secret”]].
Date merge words in the legacy editor support short, med, long, day, month, time, and hour formats. You can also shift a date by a number of days or hours. This helps when a message needs to show a date near an event.
Plan a sequence around a newsletter subscription, freebie download, or purchase. Choose the number and timing of emails to fit the campaign. Those action-based triggers differ from a subscription-based autoresponder cycle.
Use workflow automation when a click, purchase, or other behavior should decide what happens next. Preview personalized fields with both populated and empty contact data so fallback text reads naturally.
When to Use Marketing Automation Instead
Use a basic autoresponder cycle for messages timed from signup, and consider a workflow when a contact’s actions should determine what happens next. A workflow can react to a click, purchase, abandoned cart, or custom-field change. Choose the trigger before you choose the tool.
A subscription-timed welcome series fits a simple sequence, while behavior-based triggers call for marketing automation. GetResponse lists welcome emails, birthday emails, click-and-open follow-ups, and drip campaigns among its automation features.

Match the trigger to the subscriber’s action
Workflow conditions include subscription, message sent, landing page visited, link clicked, message opened, special dates, custom-field changes, purchases, abandoned carts, and visited URLs. Subscribed via starts a workflow when a contact first appears on a selected list through a selected subscription method.

A special-date condition can run immediately, before, or after a date stored in a contact’s date field. You can set it to run once or every year. Abandoned-cart conditions let you choose a wait in days or hours.
The Send message action sends a marketing automation message based on workflow conditions and filters. It does not use standard message-timing settings. Workflow rules, not the regular message schedule, determine when that action sends.
Compare the available plans and workflow limits
Starter costs $19 per month and includes unlimited monthly email sends, a welcome email series, and one custom automation workflow. Marketer costs $59 monthly, while Creator costs $69 monthly. Both include unlimited sends, a welcome series, and unlimited workflows.

| Plan | Monthly price | Monthly email sends | Welcome email series | Automation workflows |
|---|---|---|---|---|
| Starter | $19 | Unlimited | Included | 1 custom workflow |
| Marketer | $59 | Unlimited | Included | Unlimited |
| Creator | $69 | Unlimited | Included | Unlimited |
Marketer costs $48.38 per month when paid annually. The 2026 marketing-automation comparison lists a $48.38 monthly starting price. Its features include a visual drag-and-drop builder, behavioral personalization, and AI product recommendations.

The 2026 email-marketing comparison lists a paid starting price of $15.58 per month and unlimited sends. The free plan lists 500 contacts and 2,500 emails per month, plus behavior-based triggers and lead scoring. Advanced marketing tools are restricted to paid tiers.
Compare the workflow limit with the triggers and tools your campaign needs. Choose the setup by the trigger you need, then compare its workflow limit with the plan features you will use.
What to Check When an Autoresponder Doesn’t Send
If a contact did not receive a scheduled email, first trace whether the account, message, and signup path allowed it to send. Check the earliest step first, since later checks cannot fix an earlier block.
An outstanding billing balance can limit sending, and an account under compliance review cannot send until that review ends. Then use this checklist:
- Check the account’s billing and compliance status.
- Confirm the message’s Status toggle is ON.
- Inspect the signup source’s cycle-enrollment setting.
- Match the contact’s Autoresponder day with the message’s scheduled day.
- Check whether editing and publishing removed a queued contact.
- Review send, rejection, bounce, or complaint activity and sender authentication.
The Autoresponder day column appears under Contacts > Lists. Publishing an edited message can remove contacts already queued for it. SPF, DKIM, and DMARC alignment are also relevant sender-authentication checks.
A blocked or rejected message needs a different fix from an accepted message placed in Spam or Junk.

Delivery activity can help you tell whether the message was blocked, rejected, or accepted by the recipient’s mail system. Change the earliest failing setting and test the same contact path again.
Conclusion
A dependable automated email sequence depends on matching the signup path, cycle day, and message schedule. The GetResponse autoresponder works best when each contact enters the intended cycle and the first message lines up with that entry point.
Start with one real signup route before building a longer sequence. Check that the contact joins the right list and receives the intended first email. If that test works, add more messages at the cycle days that fit your campaign.
Test one signup from your real form or landing page and confirm that the intended first email arrives.